 A Rectangle in a Circular Room

Once upon a time, a family decided their rectangular table wasn’t right for their dining room space. “A round table would fit the space better,” they said. So they traded tables with a friend and now had a much more proportionally appropriate table. The base was even perfect for their 1950s era house.
A perfect solution?
The issue was that the table had been used in staging and was pretty beat up around the top and edges. And since one of those family members was mosaic-obsessed, of course that was where her mind wandered…
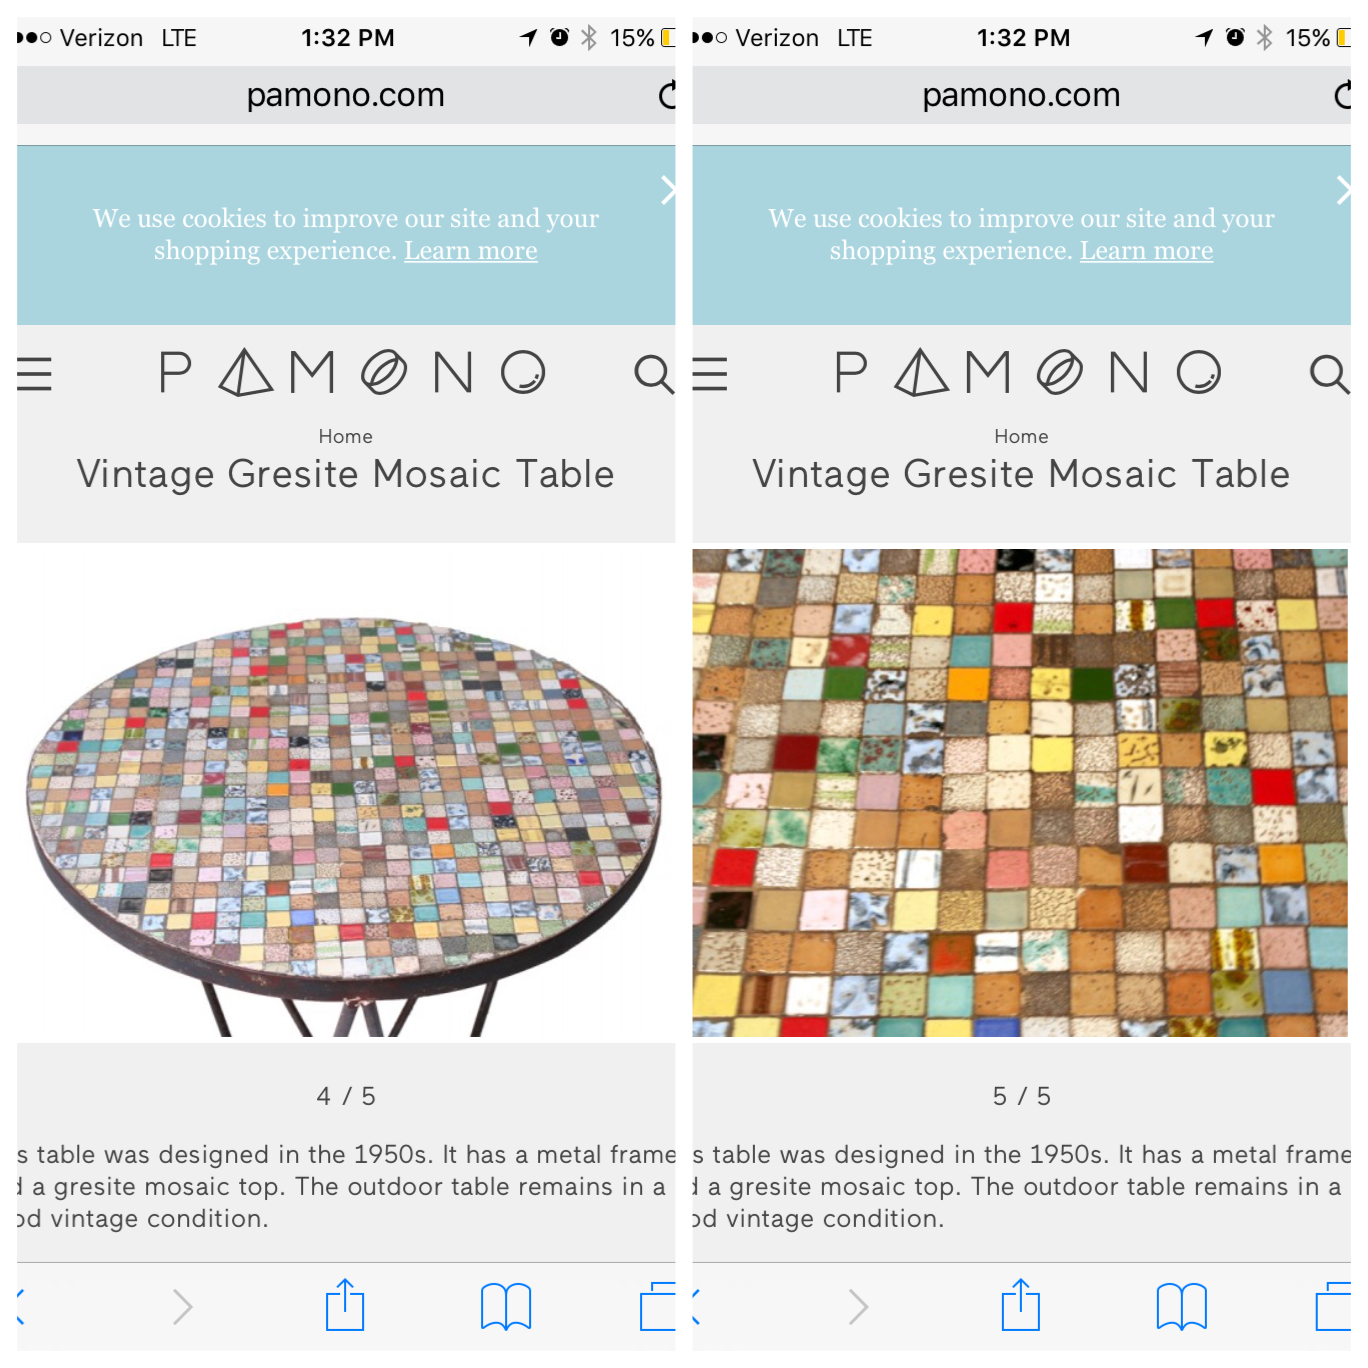 She found a vintage 1950s era table that seemed just perfect, but it was almost $800. And so began the great mosaic project of spring break 2016.
The Process
Oodles and oodles of tiles were ordered after a refresher course in how to calculate the area of a circle. There was also a table leaf, so we thought we’d calculated that rectangle as well. We may not have calculated the sides. And I may have done the calculations incorrectly because we were only half-way done with the table by the time the first order of tiles ran out.
Normally this would not be the end of the world, but a) this was our only dining table and b) our two kids (ages 6 and 9) were away for spring break with their dad and we had hoped to have a table finished upon their return. We’d set this goal both to surprise them and to avoid the mess that is kids + grout.
So we ordered more on a quick order and waited two days. Thank you fast shipping!!
My partner Mark helped me on this second phase as I was overwhelmed with the sheer size and the speed in which it needed to be finished. I’d ordered three shades of brown and two shades of grey to use among brights and speciality tiles, as similar as I could find to those in the original.
As often happens when I finish a project, I was convinced the results were awful…

Different People Tile Differently
We had decided we didn’t want to use the regular tile spacers that floor layers use as we wanted smaller grout lines than that. But I was wishing we had when we realized our tiling wasn’t quite the same. As often happens when I finish a project, I was convinced the results were awful and we’d just wasted about $400 (by the time the costs of the tile were added up).
And as best as I tried, cutting the tiles with my wheeled nippers didn’t produce perfect edges. They suffice, but are not my favorite part of the table! As often happens when I finish a project, I was convinced the results were awful and we’d just wasted about $400 (by the time the costs of the tile were added up).
Yet a day later, it seemed fun and unique and then I realized it would be a reminder of the fun Mark and I had working on the table. As I often say to myself, perfection looks like it came from China.
Grouting
We chose a black grout finish everything up. As I’m learning, most black grouts dry a dark grey, so that’s what we got. I also used a grout sealant on the grout and wiped the excess of the tile per the directions. I was told it’s not necessary to seal grout on most mosaic projects, but felt like we would need all the help we could get to keep this clean given the kid-eating that would be happening (and who am I kidding? I’m just as messy/clumsy as my kids are!).
The Final Step
The kiddos arrived home from spring break and we surprised them with a finished table. Over the next month, we had a few tiles falling off the sides here and there (thinset issues) and re-adhered them with whatever glue was handy, from weldbond to some liquid nails silicone I found at the Habitat for Humanity resale store.
We lived with and loved the table for the following few months. It was really fun and went really well with the patchwork chairs we already had (see above). We got lots of compliments and felt accomplished about doing the project together.
Yet the one lingering issue was that it was hard to write on the table, especially at homework time. My nine-year-old has some sensory issues, so he, in particular, hated using it. Plates and drinks worked just fine, but I sometimes felt self-conscious about it when we had guests over that they felt like they needed to be extra careful with the table and to steady their glasses.
The Final-Final Steps: Shoe Polish + Resin
So, to remedy the problem of the uneven surface and to keep the grout clean once and for all (yes, cleaning the grout was probably my worst complaint of the process), we used a two-part resin on top of the table. I first used black shoe polish on the grout to try and get a true dark black look. It worked! I rubbed it on with an old t-shirt and then polished the extra off the top.
NOTE: this shoe polish step really showed the “pits” in the tile. Some people hate this and spend hours with vinegar and a toothbrush taking it off. However, if you look up at the inspiration piece, I felt like this texture made it look even more authentic.
I left the shoe polish to cure for a day and went to Michael’s with Mark so we could each use a 40% coupon to purchase jars of the two-part resin. I read the instructions, but still didn’t get it quite thick enough. After setting the table on top of a bunch of flattened cardboard boxes, we poured on three coats of resin, waiting a few hours in between. The instructions recommend newspaper under your table, but I am glad we went with our guts that it might not be thick enough to protect the floors and used cardboard instead.
If you stand to the side of the table and look with your head turned you can see where the layers show a bit here and there. There are also some air bubbles, despite our using a lighter to burn off lots of them. It’s not perfect by ANY means, but it’s solid and we still love it.
Next Steps
If I choose to the perfectionist urge take over, I might sand it down and then pour one more thick coat all over it…. but right now, I’m happy with the final product!
PROJECT REVIEW
Project Cost: $400
table-free, tiles $400, thin-set on-hand, grout-on hand supply
Time: 10 hours for initial tiling + 3 hours for resin work
Fun Factor: meh (this was definitely a little bit tedious, although still meditative)
Would I do it again? Yes! We love the table and feel it is a great accent to our dining room
Have any questions about doing this type of project yourself? Feel free to send me an email or comment here and I’ll let you know about our experiences.
Q: what resin did you use?
A: This POUR ON product: https://www.michaels.com/envirotex-lite-pour-on-high-gloss-finish/M10178984.html