 The Problem: An Ugly, Cracked, Old Driveway
 So about a year ago, we were in the midst of wedding planning. Despite my partner Mark and my agreement that we didn’t need to have a wedding to feel tethered to each other, our kids had other ideas. “But you’re not really married” our youngest would say.
So we opted to give them (and maybe for our parents too) a wedding. We planned a simple-ish backyard celebration. In South Texas. In August. Yes, it was hot. Yes, it was fun too.
One of the reasons I wanted to do it at our home was that it meant instead of paying money to rent a facility, we could buy things our home needed (a large mister fan was a great estate sale find!) and make repairs we wanted to get done anyway (painting the outside of the house, for one).
Another repair item that wasn’t going to get done before the wedding was our seriously cracked driveway. The soil here goes through lots of cycles of very dry and then very wet…causing foundation issues for many, but also taking its toll on concrete.
I didn’t find too much advice on how to mosaic a cracked driveway out there. I asked on the Facebook group Mosaic Mentoring for help. They referred me to Jim Bachor, a fabulous “guerilla” artist who fills potholes with mosaic work. After studying what he does (way above my skill level!) and spending some time in the concrete aisle at Home Depot, I was ready to attempt.
Wabi Sabi

The Japanese word “wabi sabi” is so fun to say. But it also has a fabulous, and greater, meaning: is a “concept in traditional Japanese aesthetics constituting a worldview centered on the acceptance of transience and imperfection (Wikipedia).” One of the ways this is most often shown is filling a broken piece of pottery with a small amount of gold to “fix” the piece. (Here’s a cool video all about the concept: https://www.youtube.com/watch?v=QmHLYhxYVjA).
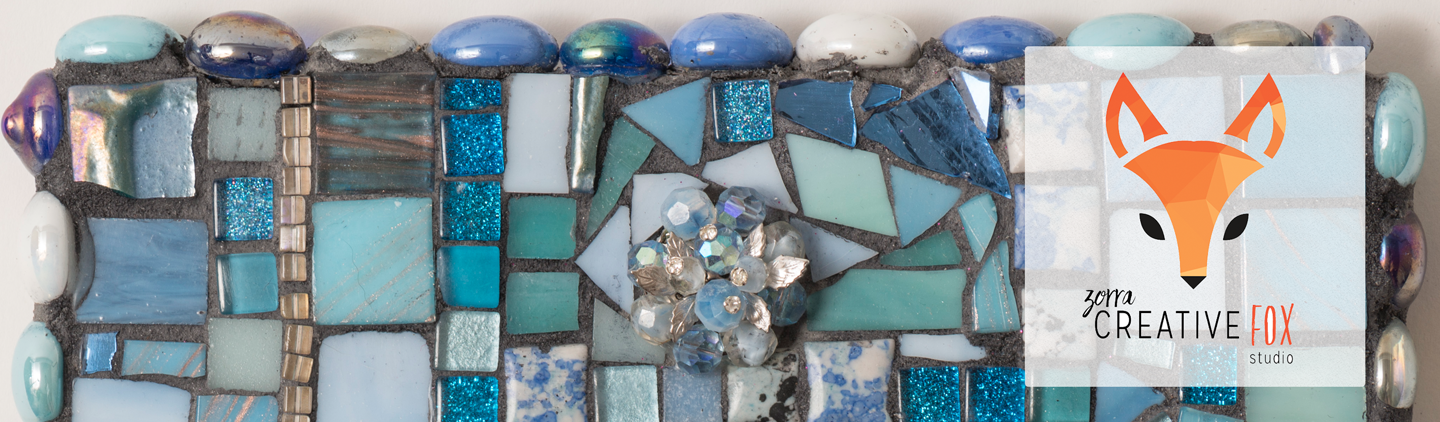
So we went to town and wabi-sabi-d our driveway with turquoise and silver themed tessera I collected from a few online sources.


Adhesive: I used the premixed concrete that came in quart sized containers. This required filling some of the bigger holes first so that I could put pretty things on top…. which meant I used more than I had planned. It was easier than worrying about mixing a large batch myself, but that would certainly be the most cost-effective option.
Results: So it’s almost a year later. The driveway has held up well and we get lots of compliments on it. A few pieces (maybe 5 that I have noticed) have come loose from the cement. This may be from cars going over it at the wrong angle or just that it wasn’t pushed into the goo enough when we did it. I had help from my husband, the kids, and some of our family friends doing this over a few days, so I shall choose not to assign any blame on why pieces didn’t stick.
Recommendation: don’t use large pieces of sea glass as they are mostly what has fallen out, smaller pieces are better pieces. 🙂
Would I do it again? Totally. I love the way this driveway says “someone artsy lives here” and that we bought ourselves a few (10?) years before we have to think about replacing the driveway. AND, it makes it easier to roll the trash and recycle cans to the curb.